Caramelized Pear Quiche

This was an unexpected hit, and a different enough recipe from my standard quiche to write down on its own. It doesn’t sound like it would work, but is freaking delicious.

Ingredients (I included actual measurements, but this is really a toss-it-all-together recipe, a bit more or less of anything won’t hurt, adjust to your tastes):
– 3-4 pears, ripe but not mushy at all
– 50 grams/half stick of butter
– 50 grams brown sugar
– spices (see note below on this)
– salt & pepper
– 6-8 oz. gorgonzola or blue cheese
– 1 sweet onion, roughly diced
– more butter to generously coat your cooking dish
– 8 eggs
– 250 g. whole milk
– some herbs, I liked thyme and sage

Steps:
1. Preheat oven to 350 degrees F/190 degrees C.
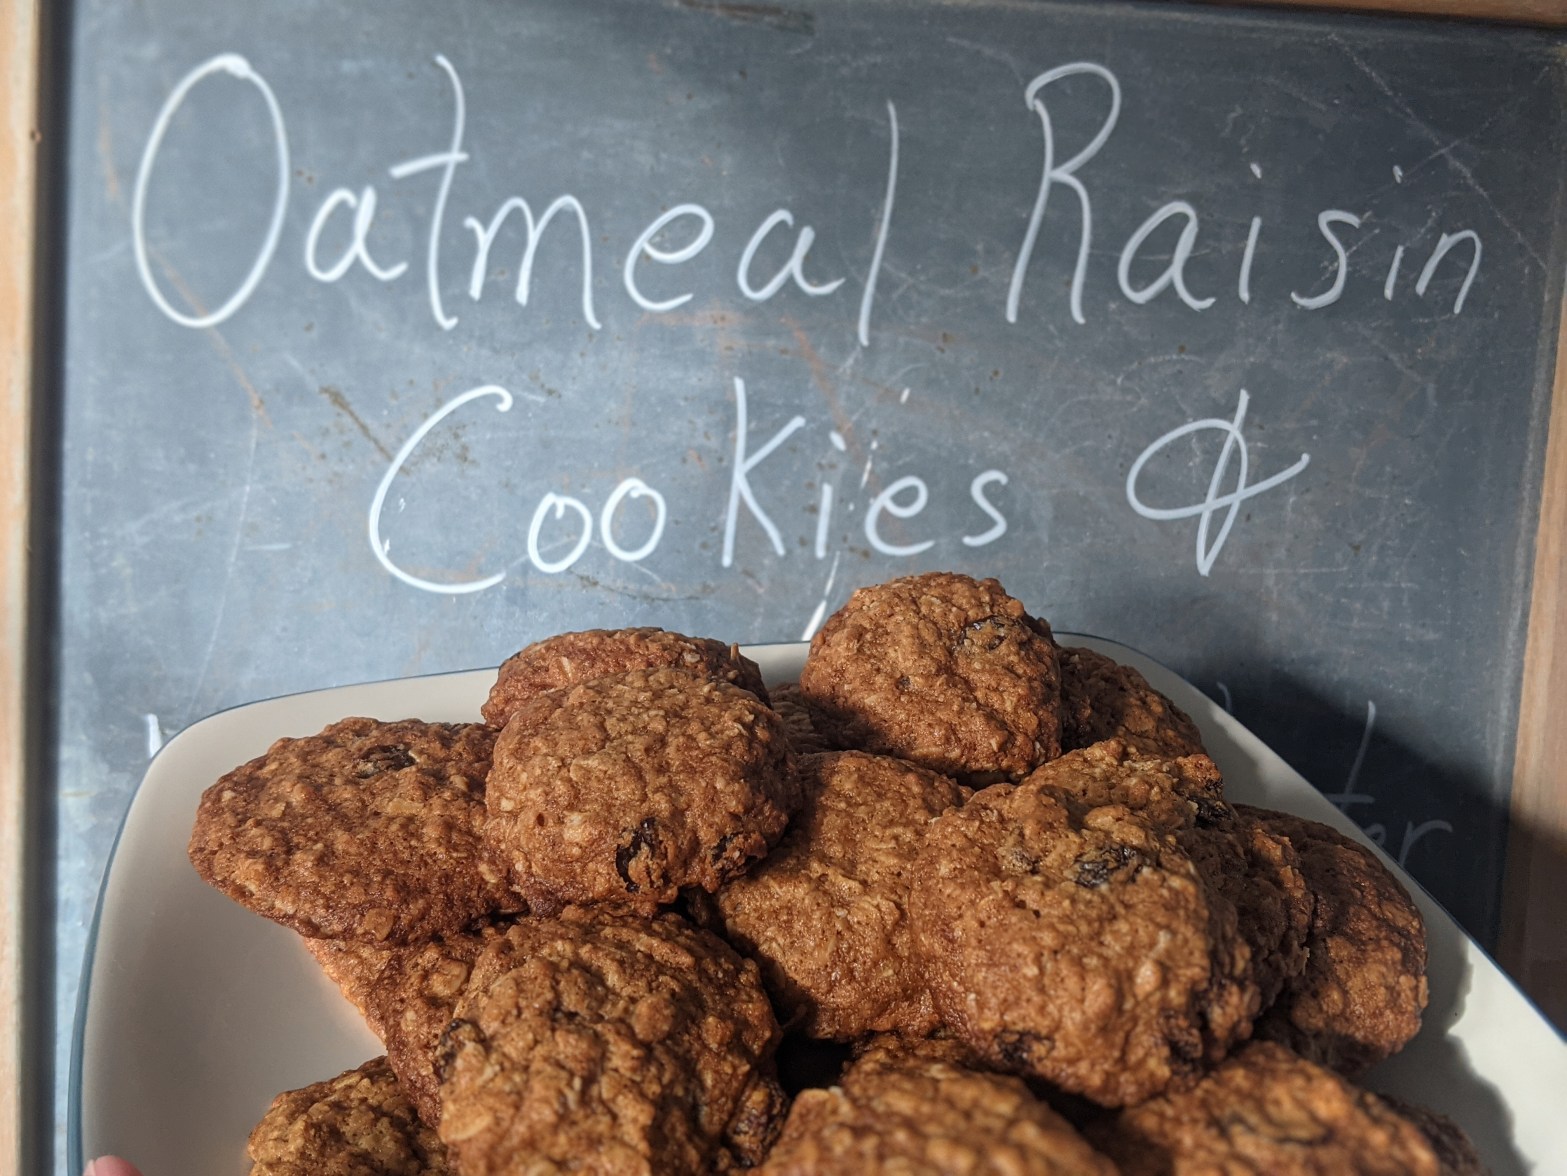
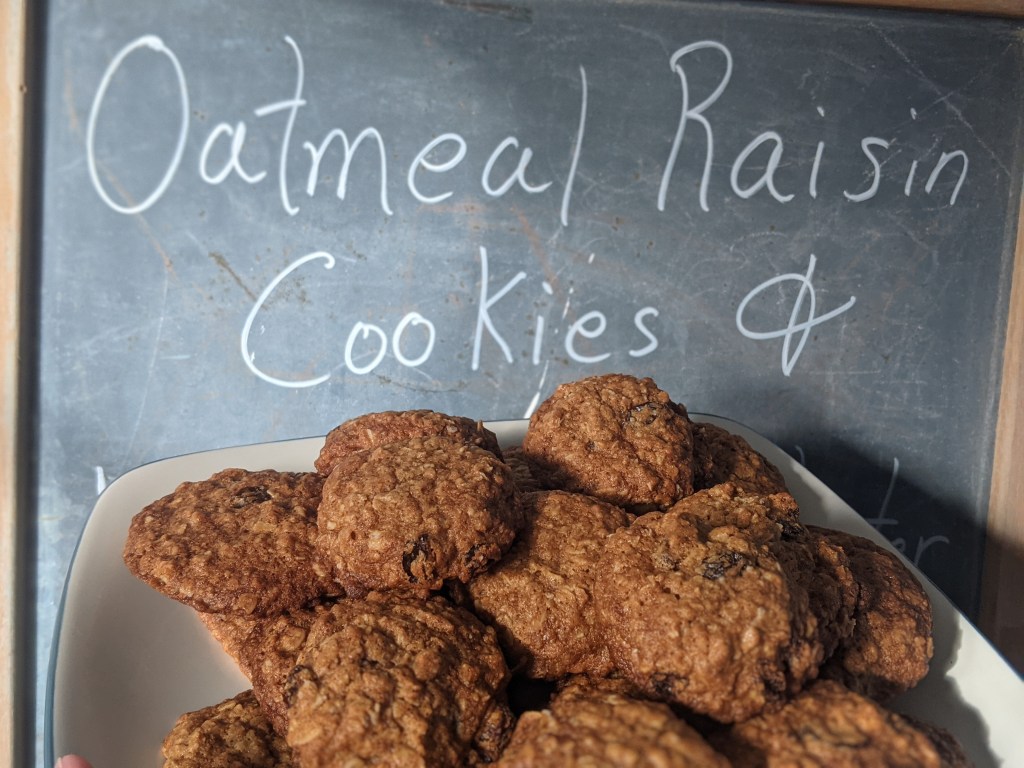
2. Cut up your pears. If you want to make a fancy top, reserve those slices now! You could cut down the whole pear just to the side of the seeds for full slices like in the pic above, or reserve bigger of the half slices to make a pretty pattern, or whatever you like. Just try to keep them fairly thin and similar in thickness.
3. Cut the rest of the pears in a mix of chunks and slices, whatever is easiest. The variety of sizes creates a nice mix of textures in the quiche, unlike in most dishes when you want everything cut roughly the same so they cook at the same rate.
4. In a medium saucepan (metal heavy bottom preferred) over medium-low melt your butter with the brown sugar until it comes somewhat together and begins to bubble. If your butter is still a bit separated, that is fine, it will come together with the pears.
5. Add in your spices. See note below on this!
6. Add in your pears and a bit of salt and stir through. Your pears are likely much cooler than the pan, so the butter may seize and make clumps of caramel, this is ok! Just keep stirring every few minutes until the pears start releasing their juices, and it will all come together. It’s fine.
7. Keep stirring until the pears have softened and gotten some color, but are still holding their shape. This will take 15-20 minutes, maybe a bit longer if your pears are more firm, less if they were more ripe.
8. TAKE OUT ALL THE WHOLE SEEDS/PODS. Taste a bit of pear and see if you want any more spices or salt, we are looking for a nice gentle flavor here. Have another, you deserve a treat.
9. Stir in the walnuts and let simmer together for another few minutes, stirring to keep the bottom from burning, until walnuts are all caramelly too.
10. Stir in the diced onion, and give it another minute on the stove to make sure it is mixed through too, but this doesn’t have to soften or caramelize, it will cook in the oven.
11. Turn off the heat and let mix cool while you do the next steps.
12. In a bowl, crack and whisk 8 eggs, then whisk in milk, salt, black pepper, and a bit of sage and thyme if you have it. Dried is absolutely fine.
13. Generously grease your baking pan with softened butter – I used a deep pie dish, but a square casserole dish or your other favorite oven-safe dish is great. This is a nice time to break out that very pretty dish in the back of your cabinets, it will look pretty when you serve your creation.
14. Break up the cheese into chunks right into your pan of caramelized pears (leaving a bit out to put on the top) and stir through, then dump the mixture into your baking pan. Spread it out into a fairly even layer.
15. Pour your egg mixture over top, then use a knife or spatula or something clean nearby to gently lift the pear mix up a bit in a few spots around the pan. The goal is to make sure the egg mix gets all the way to the bottom of the pan and fills in all those gaps.
16. Top with your reserved pear slices and cheese, then add a final dash of salt, pepper, and paprika if you have it available.
17. Bake for 30-45 minutes, until puffed, deep golden, and your tester/knife comes out clean.
18. Let sit for 10 minutes or so to set and cool before serving. Enjoy!

NOTE ON SPICES: You can add whatever you want according to your preference, but this is the time to be a bit creative. I used about 20 wholes green cardamom pods, 3 whole cloves, some fresh grated nutmeg, and some fresh grated ginger. You will want to actually count how many whole pod things you put in here, because we will take them out before adding the walnuts, otherwise someone is going to bite into a whole cardamom and clove and that isn’t generally pleasant. The pods will be caramelly and delicious if you want to grind them up and use them in something else, like sprinkled on baked goods. I would suggest NOT using cinnamon, unless you want it to taste like Xmas morning. We are fairly conditioned to associate cinnamon with very sweet baked goods, and this is more savory. But if you love cinnamon, use some, with a light touch.

Gingerbread

Note: This is construction gingerbread. If you want soft cookies or cake, this is not it. If you want to build the gingerbread design of your dreams, this is the absolute best version for it, in my opinion. This makes about three decent-size houses, approximately 8″ x 10″. The pattern I use is attached at the end.

I will be making this on Twitch.tv/Nascmile throughout the week of December 6th through 10th. We will go from dough to houses, and maybe make some unique creations too. There will also be some charity things, so come hang out!

If you make this, feel free to tag me on Instagram @WordsFlickering – it is fun to see the creations people make through the world!

Whisk together dry in separate bowl:
900 g. flour
8 g. kosher salt
12 g. baking soda
7 g. ground cinnamon

Finely grate: 15-20 g. fresh ginger.

Cream with mixer (dough will get stiff, recommend heavy stand mixer):
200 g. cheap vegetable shortening (crisco, etc.)
425 g. white sugar
200 g. brown sugar

Add one at a time:
4 eggs
60 g. molasses
Grated ginger

Then mix in dry in batches until just mixed. Will be stiff but uniformly colored. May need to scrape down bowl periodically through mixing.

Oven: 350 F/175 C, no convection because it blows the parchment and gets on the cookies, making lines. (If your oven runs a bit cool, use 375 F/190 C.)

Roll dough directly onto parchment, then cut out forms and remove scraps. As you use them scraps will become darker, but can be re-rolled basically indefinitely if kept in a bowl covered with a damp towel. They should be at least 1/8″ thick, more if you are creating a large house. Transfer paper to baking sheet and bake 10-14 minutes until well baked, over is preferred to under for stability. Immediately retrace shapes with a sharp knife (the trimmings are delicious with tea). Let cool completely, then store overnight to cure before construction. If making many batches, do not stack more than 3 high until cured.

Cement (Royal Icing)

6 egg whites, tempered and cooled OR 1/4 c. meringue powder and 3/4 c. water mixed OR egg white powder 6 egg equivalent (I use the latter generally to avoid salmonella worries with kids, especially when making kits)
1 t. cream of tartar
1 t. vanilla

Whisk until frothy. (Again, suggest a heavy mixer for this, or be ready for an arm workout.) Then add in a 2 lb. bag of powdered sugar and whisk on medium for 10-15 minutes. Icing should be very thick, white, and stiff. Keep bowl covered with moist cloth to avoid crust.

Yaki Noodles

These came out absolutely great, so thought I would share. It is super easy and can be made with any noodles, I used buckwheat soba noodles for this picture. You can also use basically any veggies. I will list what I used below. I made it as a veggie side dish, but it would be super easy to throw in some tofu, chicken, shrimp, or basically any protein, or other things you have on hand.

Prepare veggies:
– 1 Onion, thin sliced (add another if you like a lot of onion, like I do)
– 2 bell peppers, any color, thin sliced
– 12 oz. mushrooms, any kind, sliced
– 4-8 cloves garlic, to taste, chopped well
– Bok Choy, bottoms trimmed and well rinsed, torn into smaller bits if very large
– Large bunch green onions, bottoms cut off and chopped into inch-long pieces, leaving some of the tops to slice thinly to sprinkle on top

Prepare sauce:
– 50 g. dark soy sauce (Tamari)
– 30 g. oyster sauce
– 15 g. mirin
– 30 g. brown sugar
– 10 g. rice vinegar
– 30 g. grated ginger
– 10 g. sriracha, to taste

Plus:
– oil to start stir-fry – sesame oil is excellent if you like that flavor, otherwise any type of oil you have on hand. I like avocado or coconut, as they don’t add an olive oil flavor.
– Pack of noodles, whatever you like. This would be fantastic with soba, udon, ramen…anything.

To cook:
– Heat water to cook noodles according to package directions. If they get done before the veggies, rinse with cold water to stop the cooking then toss with a bit of oil to keep them from sticking while you finish the rest.
– Mix all sauce ingredients and set to the side.
– In heavy-bottomed large pan, heat oil over medium to medium-high heat. Once shimmering, add onions and peppers. Cook, stirring frequently, until starting to caramelize. Add mushrooms and garlic and keep cooking and stirring until onions are nicely golden and mushrooms are softened and cooked through, a few minutes. Stir in box choy and green onions, continuing to stir and cook until bok choy is wilted and soft, this won’t take long. Add in sauce and stir until everything is well-coated, then stir in the cooked noodles. Once everything is well-coated, remove from heat and serve. Top with thinly-sliced green onion tips, sesame needles, korean red pepper, and anything else you might like. Add protein if desired. Leftovers heat up very well, if dry add a dash of soy sauce and water before heating.

Cranberry Sauce

Cranberry sauce is pretty damn simple and doesn’t really require much attention, just some time. And it tastes so good. Make a bunch and keep it in the fridge to put on things. I highly suggest it on charcuterie, a cheese plate, or leftover turkey sandwiches.

Ingredients:
340 g./12 oz. cranberries
1 large orange, zested and squeezed (blood orange is also delicious)
100 g. sugar or honey
15 g. brandy (optional)
Grated fresh spices as desired: fresh ginger is lovely, as is cinnamon, nutmeg, sage, thyme…whatever your preference is

In heavy-bottomed non-reactive saucepan (I prefer stainless), stir together cranberries, orange zest & juice, and sugar/honey. Cook on medium until cranberries have burst and sauce has thickened, stirring/mashing regularly. Remove from heat and stir in brandy and spices. Serve immediately, save for later, or jar. If you jar while still hot in a very clean canning jar it will self-preserve (not perfectly, but enough) and last for quite awhile.

Marshmallows

This is the basic recipe I use. To change it up, you can replace the syrup or water, or add spices. Note that chocolate marshmallows are hard! The consistency changes quickly, so I suggest starting with vanilla, then start working on your combinations. I will add some ideas in another post (eventually).

I will be making these at 12 pm EDT on Twitch.tv/Nascmile, along with Blackberry Balsamic Pork and some sort of veggie.

Ingredients:
2 envelopes (17 g.) gelatin
125 g. AND 80 g. cold water, separated
200 g. sugar
100 g. light corn syrup
110 g. egg whites (about 4 eggs worth)
pinch salt
15 g. vanilla extract or seeds of one bean

Separately, whisk together 140 g. each of 10x sugar and cornstarch, this will be the coating. If making chocolate or flavored marshmallows, you can add cocoa powder or spices for part of the sugar weight.

THIS MOVES QUICKLY. READ ALL DIRECTIONS TWICE AND HAVE INGREDIENTS MEASURED AND READY TO GO. LINE A COOKIE SHEET OR PYREX SQUARE DISH WITH PARCHMENT THEN HEAVILY DUST WITH MALLOW COATING.

Sprinkle the gelatin over a bowl with the 125 g. cold water and set aside to bloom.

In heavy-bottomed saucepan with candy thermometer nearby, mix sugar, corn syrup, and 80 g. water. Start cooking over medium-high heat.

Put egg whites in mixer and lightly mix until frothy. Add salt and pulse again.

When syrup hits 210 degrees F/100 C, put mixer on high until Firm Peak Stage. When syrup hits 245 F/120 C, WHILE MIXER IS RUNNING ON HIGH, SLOWLY pour HOT syrup into firm whites. It is best to do this along the side, depending on your mixer.

Put gelatin into the still-hot pan to melt, then pour into the mixer WHILE STILL RUNNING ON HIGH, again.

Add extract/seeds and whip for 5 minutes until cool and very thick.

Spread or drop cooled mix onto sheet, either by spoonful (mounds of mallow) or spread thickly on sheet or in pan (squares). Dust again completely. Shake in mallow mix again before storing.

BLACKBERRY MALLOWS: I will cook some blackberries in water then strain well to try to make them purple!

UPDATE: Ok, so blackberries are unavailable at the moment, so instead I cooked about 1 cup of blueberries/raspberries in 1 cup of water until soft, then strained well and used that for the water. Also, I used honey instead of corn syrup. They are delicious, would recommend!

Margarita Cupcakes

Margarita Cupcake in the Wild!

By popular demand! Perfect for something GREEN! A quick note: this recipe really works best as a margarita, i.e. with the tequila – the cupcakes are quite tart alone, so if you are looking for a general lime cupcake, up the sugar content/lower the limes and don’t bake quite as long to leave them moist. If you are adding the tequila, you want it a touch overbaked so it is dry enough to absorb the liquid.

This recipe makes about 3 dozen cupcakes. I will be making it on stream (twitch.tv/Nascmile) at 1 pm EDT on Tuesday, 6/15, with a half-batch, as well as Green Goddess Salad with Crispy Tofu and Brown Butter Pie Dough.

Ingredients:

380 g. flour
15 g. baking powder
7 g. salt
4 eggs
20 g. vanilla
230 g./2 sticks butter, softened
400 g. sugar
240 g./ml. milk
Zest & juice of 5-6 limes
Green food coloring (optional)

Whisk together dry (flour, powder, salt), in separate bowl whisk together wet (eggs, vanilla). In mixer cream butter and sugar, then slowly add in wet, then alternate adding milk & dry, then lime zest and juice last. It may look curdled after the addition, but it is fine. Can add a touch of green food coloring if desired.

Bake in 350 degree F/175 degree C oven for 12-15 minutes or a bit more – you want them to be cooked well and dry to absorb the tequila, but not too golden.

Let cool fully, then inject/poke all over and slowly pour over tequila. You can do just a bit, or up to a full shot (30ish grams) worth.

Frosting: (THIS MAKES A LOT)

230 g./2 sticks butter, softened
450 g./2 packs cream cheese (Philadelphia full fat)
zest of 2-3 oranges
1800 g./4 lb. 10x sugar
30-60 g. orange liqueur

Cream butter and sugar, add zest, slowly add sugar, then thin with liqueur until piping consistency.

Pipe generously on the cupcakes (they will be very tart/strong without the frosting!), then sprinkle or dip one side in sea salt. I also like sprinkling lime sugar or dried zest for extra flavor & color.


Crepe Mille

Layered crepe cake with green latte with a heart foam on top.
The original crepe mille from Lady M in NYC, which is always my first stop when I get into the city. The matcha latte goes beautifully with it. Soon, cake. Soon.

So, this is the basic recipe I use for a crepe mille. I will try to update with the variations as I make them.

CREPES

Note: I like to make my crepes and pie crusts with browned butter. Reducing the water content gives you a bit more texture in the bake and I love the nutty flavor it introduces. HOWEVER: you need to brown the butter, then let cool, and then weigh it – depending on the butter you use and how much you brown it, the weight can change SIGNIFICANTLY. And if you are using it for pie crusts, you need to freeze it, so make it a day at least in advance. If I am going to be doing a lot of baking, I will spend some time browning a ton of butter, then put it into ice cube trays to freeze. Then you can use as desired. However, you can use butter right from the package instead.

This will make a LOT of crepes – 30-40, depending on how thick you make them and the size of your pan. I like having more because I like a big stacked crepe mille, and also a lot tend to disappear before they can get into the cake.

Ingredients:

130 g. browned butter, melted and cooled
375 g. flour
60 g. sugar
5 g. fine salt
700 g. milk
150 g. water
6 eggs
Optional: 12 g. vanilla extract/half vanilla bean

Mix all ingredients in blender. You can do this in a mixer or by hand, but you want it to be SUPER SMOOTH and silky, and a blender does the trick perfectly without overmixing. Cover tightly and rest in fridge for at least an hour, preferably 2 or up to a day.

To make the crepes, I have a specific crepe pan. Once a crepe pan gets any scratches it gets a lot harder to use, so this is one of the few instances when I like a one-use item that everyone else (mostly) knows to leave alone. It doesn’t have to be expensive, just don’t use it with metal utensils. However, you can use any small flat pan.

Keep softened butter nearby to keep greasing the pan. Start with a pat of butter over medium-low heat, swirl to cover, then use a cloth/paper towel to remove excess. Using a 1/4 c. dipper or cup or small ladle, pour batter into pan and quickly swirl. You are looking for a thin, even, flat crepe. This takes some practice, and also you need to keep an eye on the heat to make sure it doesn’t cook too fast. You want the bottom set and the edges just starting to get golden, about 1-2 minutes. Carefully flip, cook for about 30 seconds on the other side until you get some golden spots, then transfer to a platter. Repeat process, adding more butter between crepes as needed. Batter may need to be quickly whisked before using/in between crepes if it starts to settle. If crepes are sticking, let cool before stacking or use parchment between. Loosely cover and set aside until completely cooled, then use or tightly cover for later use. If using more than a few hours later, keep in fridge, then bring to room temperature for use.

Tiramisu Filling

360 ml. heavy cream (cold)
30 g. espresso or very strong cold brew
8 oz./225 g. cream cheese (Full Fat Philadelphia, seriously, just do it)
120 g. 10x sugar
5 g. vanilla
Optional: heavy splash rum, brandy, or grand marnier
cocoa powder for dusting

Whip cold cream to medium peak stage and set aside. Beat together other espresso, cream cheese, sugar and vanilla (and liquor if using) until very well combined and silky smooth. Fold in peaked cream.

To assemble, put a dollop of cream on a flat platter to keep the cake in place. Lay crepe flat, thinly spread filling to the edges, repeat until out of crepes or to your desired height. For an extra chocolatey cake, you can dust every layer with cocoa powder, but I find this too strong – I like the flavors from the coffee and the browned butter. So instead, dust a few layers in the cake, then do a heavy dust layer on top. Alternatively, you could top it with whipped cream and cocoa dust, or caramelized granulated sugar like it is a creme brulee, just be careful around the edges as the crepes can catch fire. Refrigerate for at least two hours until set, or up to a day loosely covered.

Sourdough Sweet Stuffed Pastries

This is the recipe I use to make cinnamon rolls, chelsea buns, stuffed breads, pastries…basically anything pastry-like. It makes a square pan of large buns or a large braided loaf or a dozen or so pastries…use your imagination!

Warm in saucepan until melted/just steaming:

  • 160 g. whole milk
  • 2 T./30 g. butter

In bowl stir together:

  • 100 g. starter
  • 25 g. sugar
  • 5 g. salt

Add in warm milk and stir together well, then add in:

  • 300 g. flour

And lightly knead until together. Let rest for 30 minutes. Then knead – using a mixer, 5-10 minutes, with hands, 10-20. Dough should be soft, stretchy, and not sticky.

Transfer into buttered large bowl, cover with plastic wrap, and let rise overnight or for at least 6 hours until at least doubled in size. Can do folds during the first 2-4 hours of rise, but not necessary.

Once risen, flour your table and let dough fall out on top. Lightly stretch into a rectangle, then let sit for 15 minutes. Dust with flour then roll out – may divide first, depending on what you are making.

Turn into preferred pastry shape. Let rise again, at least 30 minutes or up to overnight (if you did the shorter rise for the first one). Bake on parchment or in well buttered pans, 350 F/175 C oven, for 10-30 minutes or longer, depending on what you make. They are done when golden brown and cooked through (I know this seems obvious, but it takes some attention, especially when it comes to cinnamon buns, which can be deceptively raw in the middle). If you are making something that won’t be glazed later, like a twisted bread, you can glaze with an egg wash – whisk one large whole egg with about 30 g./2 T. whole milk, then brush over the whole pastry (or the exposed bits, again depending on what you are making) before baking.

Crustless Quiche

Veggie Version!

My recipe! So easy! Pick any things to put in it!

Ingredients:

  • 8 eggs
  • 250 g. whole milk
  • 8 g. baking powder
  • butter for baking dish
  • fillings (2-3 cups-ish)
  • salt and pepper
  • herbs and spices

375 F/190 C oven.

Whisk together eggs and milk. Sprinkle baking powder over top and whisk well again. Add in salt, pepper, herbs, and spices. Whisk one more time.

Separately prepare fillings. Veggies, meat, cheese, anything. Meat should be cooked, veggies can be cooked ahead depending on the veg/preferred texture. I like to mix some cheese into the filling, then leave some to sprinkle on top with extra herbs and spices for decoration.

Butter your dish (I like using a pie plate, but a square casserole dish or cake pan is good too) well, then add in most of the fillings and spread evenly. Pour over egg mixture, then add toppings. Bake for 30-45 minutes until puffed, deep golden, and a tester comes out clean. Rest for 5-10 minutes then serve.

Oatmeal Raisin Cookies

C is for Cookie

Want to follow along? I will be making this on TWITCH.TV/NASCMILE on 5/10 at 1 pm EST, and a vod will be available later. We will also be making sourdough starter!

My secret? A few hours or up to a day before you are going to make these, start rehydrating your raisins in bourbon. Gives a fantastic vanilla flavor, keeps everything moist, and the raisins won’t be hard rocks that keep your dentist’s flotilla of sailboats afloat. If you absolutely are against raisins, try blueberries, craisins, candied fruits, chocolate chips, nuts…whatever floats your own boat.

Ingredients:

  • raisins
  • bourbon
  • butter
  • eggs
  • vanilla
  • molasses
  • brown sugar
  • flour
  • baking soda
  • cinnamon
  • salt
  • oats
  • optional: chopped nuts, chocolate chips, other types of mix ins, you do you

350 F/175 C Oven until golden brown

Mix:

  • 150 g. raisins
  • 40 g. bourbon

And let sit for a few hours or up to a day, giving them a stir once in awhile.

Brown:

  • 1 stick/115 g. butter

And put another:

  • 1 stick/115 g. butter
  • 50 g. sugar

In bowl of mixer. When well browned, add in hot butter (do not cool!), let sit for a few seconds, then mix (start low, splashes may burn). Once well mixed and cooled, add one at a time:

  • 2 eggs
  • 4 g. vanilla
  • 6 g. molasses

Ok here is my trick for chunky cookies: at this stage, you want to get the mix all glossy and well combined. So mix it for 30 seconds, then turn it off and let it sit for 3 minutes, then repeat 3 times. It develops this wonderful smooth thick consistency that will provide a stable base for other additions and baking. Then mix in:

200 g. brown sugar

Whisk together dry:

  • 200 g. flour
  • 6 g. baking soda
  • 3 g. cinnamon
  • 3 g. salt

Then add and mix until barely incorporated. Then add thick:

  • 240 g. oats
  • raisins & bourbon (including any remaining liquid)

These can be chilled for a bit before baking if you want them to stay thicker, but not necessary. Scoop into large balls, cook on a silpat until golden brown. May take 12-15 minutes.